10 Floating TV Unit Designs for a Sleek Living Room Look
A floating TV unit is one of the quickest and most effective ways to modernize a living room. Floating units free up floor space, create a clean visual line, and make a room feel lighter and airier. They also offer practical storage and cable management while doubling as a styling surface for decor. In this article we’ll explore 10 floating TV unit designs, explain what makes each one special, provide sizing and material recommendations, offer styling tips, and finish with a buying & DIY guide so you can pick (or build) the perfect one for your space. Explore about 7 Conversation Pit Living Room Ideas for a Retro Comeback.
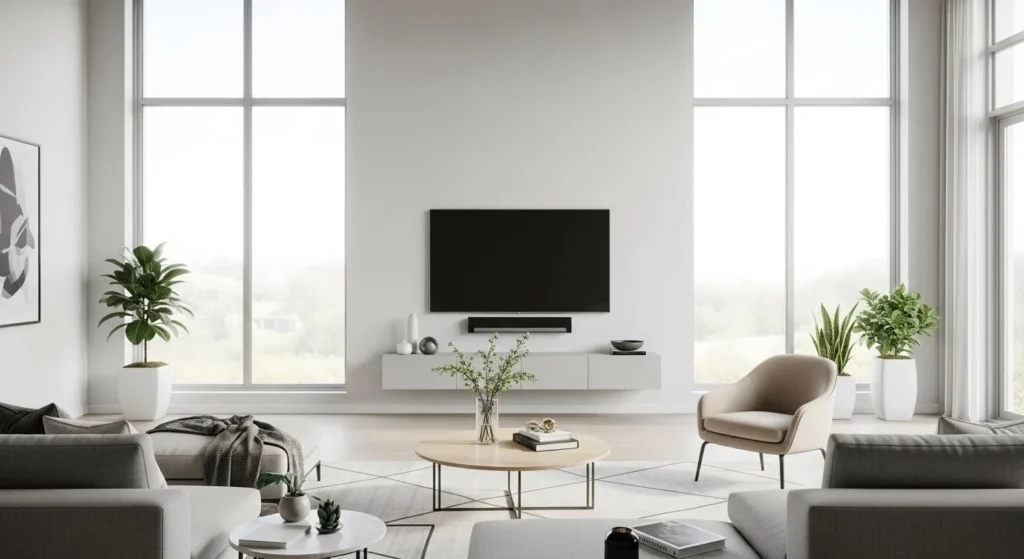
Quick planning checklist before you start
- Measure your wall and TV — width, height, and viewing distance.
- Decide function — display only, media storage, gaming hub, or mixed-use.
- Plan cable management — in-wall conduit, raceways, or integrated channels.
- Choose materials — MDF, plywood, solid wood, lacquer, laminate, or metal.
- Pick mounting method — french cleat, floating bracket, or wall studs secured rails.
- Budget — DIY vs. custom vs. ready-made.
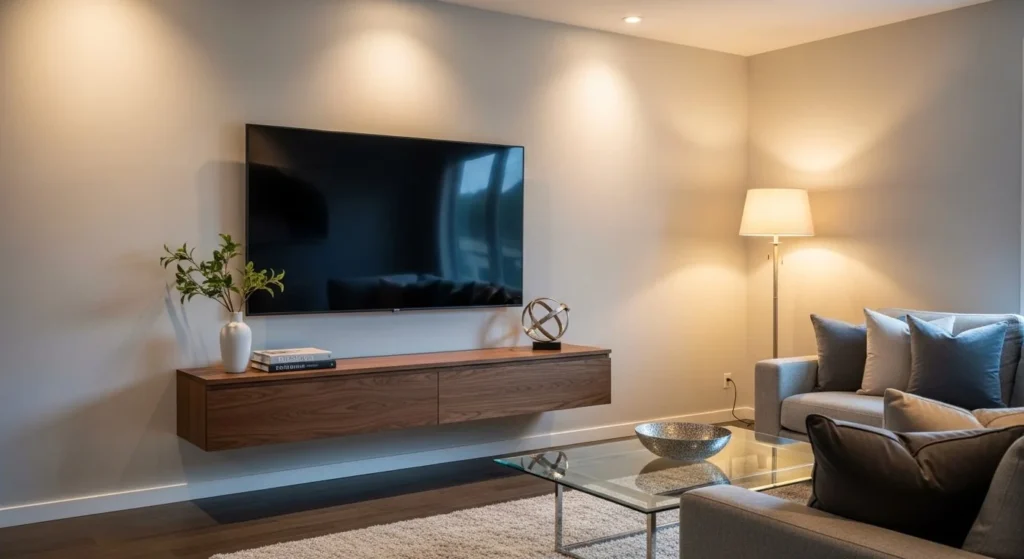
1) Minimalist Floating Shelf (Single Slim Shelf)
Description: A single slim shelf mounted beneath the TV. Clean lines, virtually invisible supports, ideal for minimalists.
Best for: Small rooms, modern apartments, renters (if using removable anchors).
Materials: Solid wood board or plywood with veneer, MDF with lacquer finish. Brackets hidden inside the shelf.
Sizing tip: Shelf depth 10–14″ (25–35 cm), length about 2/3 to full width of TV depending on desired balance.
Pros: Simple, inexpensive, easy to install. Keeps room airy.
Cons: Limited storage—mainly display surface.
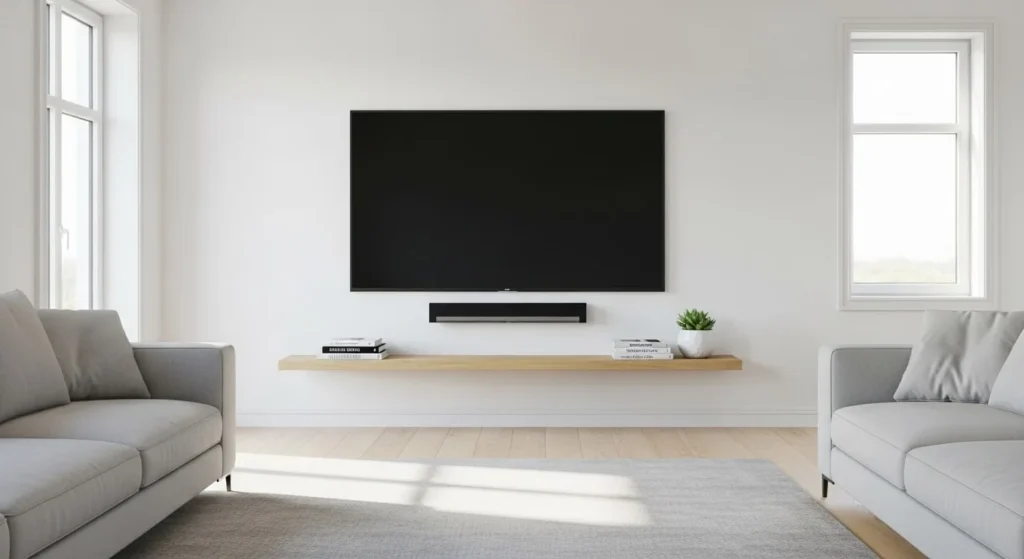
Styling ideas: Place a low-profile soundbar on the shelf and a small stack of books or a plant at one end to balance the visual weight.
DIY note: Use a metal floating shelf bracket kit and edge-band plywood for a clean finish.
2) Floating Console with Drawers
Description: A box-style unit with two or three drawers that appears to ‘float’ off the floor. Offers concealed storage and a cleaner silhouette.
Best for: Families, people who want hidden storage for remotes, consoles, and media.
Materials: MDF carcass with veneer or laminate, soft-close drawer slides.
Sizing tip: Depth 14–18″ (35–45 cm). Height 10–16″ (25–40 cm) depending on TV stand height and ergonomics.
Pros: Keeps clutter out of sight; more storage without losing the floating aesthetic.
Cons: Heavier load on the wall—requires strong mounting and studs.
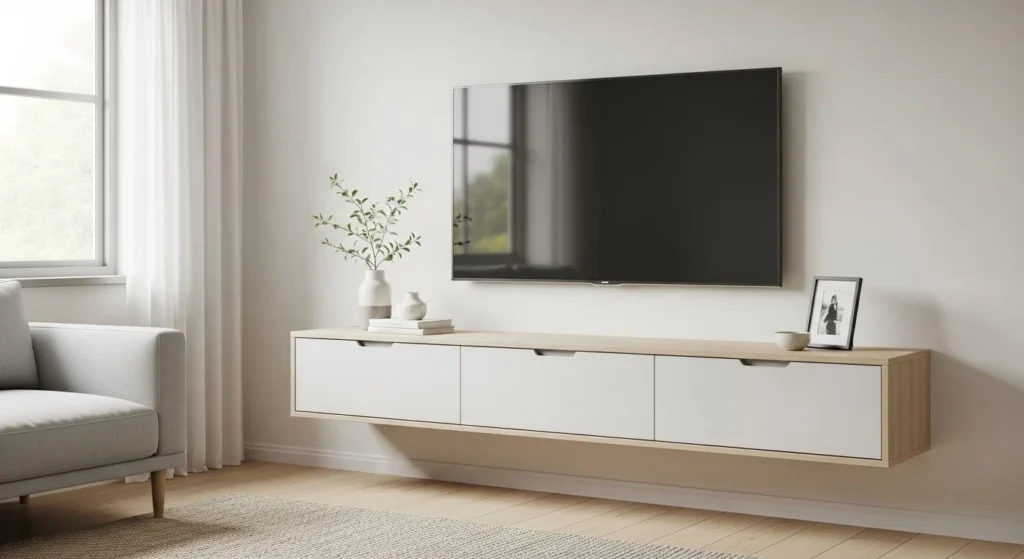
Styling ideas: Use a matte finish and simple recessed pulls for a Scandinavian look.
DIY note: Reinforce back panel with a plywood mounting plate fixed to studs.
3) Long Low Floating Unit (Media Wall Stretch)
Description: An elongated low-profile unit that spans a large portion of the wall—great for anchoring wide TVs and creating a media wall.
Best for: Open-plan living rooms and wide walls.
Materials: Veneer-faced plywood, laminated MDF, or continuous painted MDF for a seamless look.
Sizing tip: Usually 60–100% of wall width depending on scale. Depth 14–18″.
Pros: Balances large screens, provides multiple storage compartments.
Cons: Can dominate a small room if oversized.
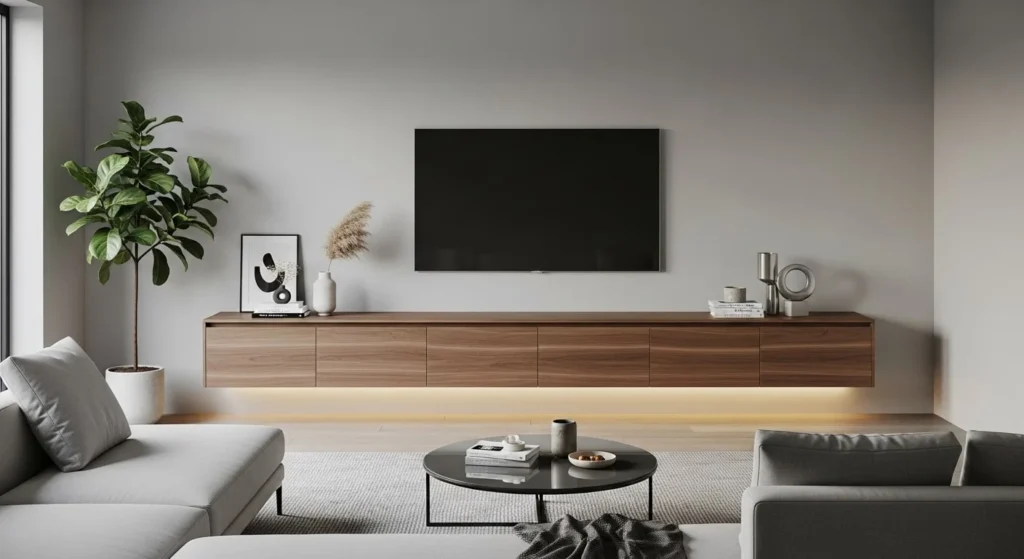
Styling ideas: Add integrated LED strip lighting under the unit for a floating glow.
Buying tip: Look for modular units that can be extended or split.
4) Asymmetrical Floating Units (Stacked Boxes)
Description: A composition of floating boxes or cabinets arranged asymmetrically for a dynamic, modern feel.
Best for: Contemporary interiors, eclectic decor lovers.
Materials: Mix of painted MDF, timber veneer, and glass-fronted boxes.
Sizing tip: Combine small and medium boxes; leave negative space around the TV for balance.
Pros: Visual interest, flexible storage, allows display and concealment.
Cons: More complex install; careful layout needed to avoid looking cluttered.
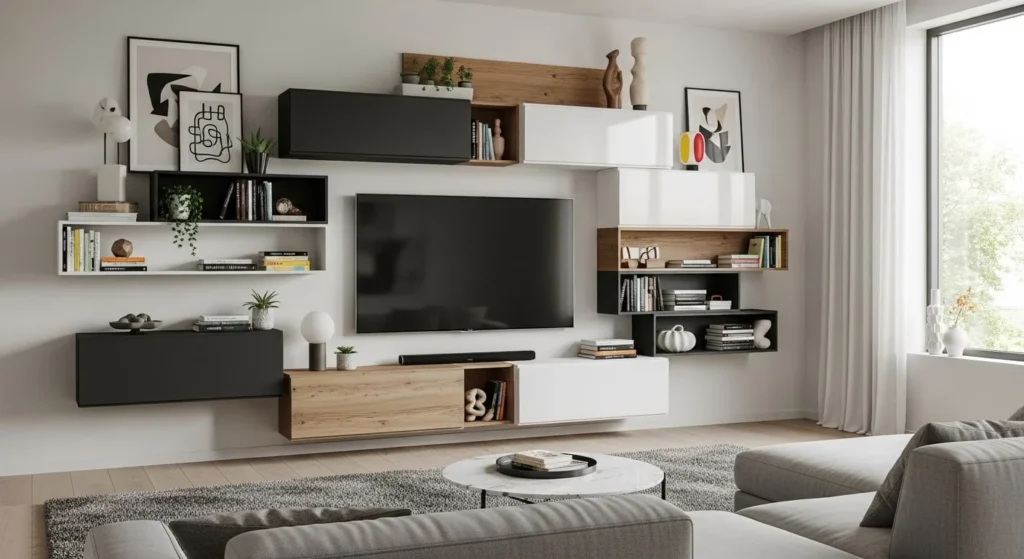
Styling ideas: Use contrasting finishes (matte vs. gloss) for depth.
DIY note: Prebuild boxes and mount a continuous ledger to make alignment easier.
5) Media Unit with Integrated Shelving and Fireplace Niche
Description: Floating console combined with vertical open shelving and (optionally) a recessed electric fireplace under the TV.
Best for: Living rooms where the TV is the focal point and you want a cozy vibe.
Materials: Heat-rated materials around the fireplace niche, thermal-safe veneers, laminated MDF.
Sizing tip: Provide at least 6–8″ clearance between TV and fireplace unit top if using an electric fireplace—check manufacturer specs.
Pros: Cozy focal point, combines function and ambience.
Cons: Higher cost; fireplace requires power outlet and proper ventilation.
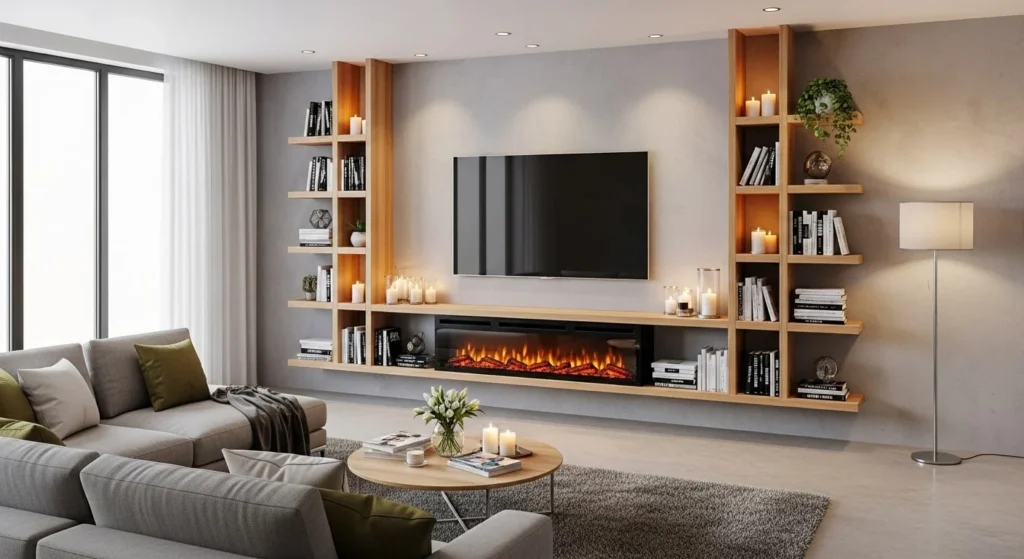
Styling ideas: Use warm wood tones around the fireplace and floating MDF shelves for display.
6) Slim Floating Unit with Hidden Compartments (Cable-First Design)
Description: A narrow floating console designed primarily to hide cables and small devices. Often includes a back channel for power strips and HDMI cables.
Best for: Wall-mounted TVs with many devices (streamers, consoles, soundbars).
Materials: MDF with internal channels, removable back panels for access.
Sizing tip: Keep depth minimal (8–12″) if space is tight but ensure enough airflow for devices.
Pros: Best for clean cable management; minimalist look.
Cons: Limited storage; heat buildup if not ventilated.
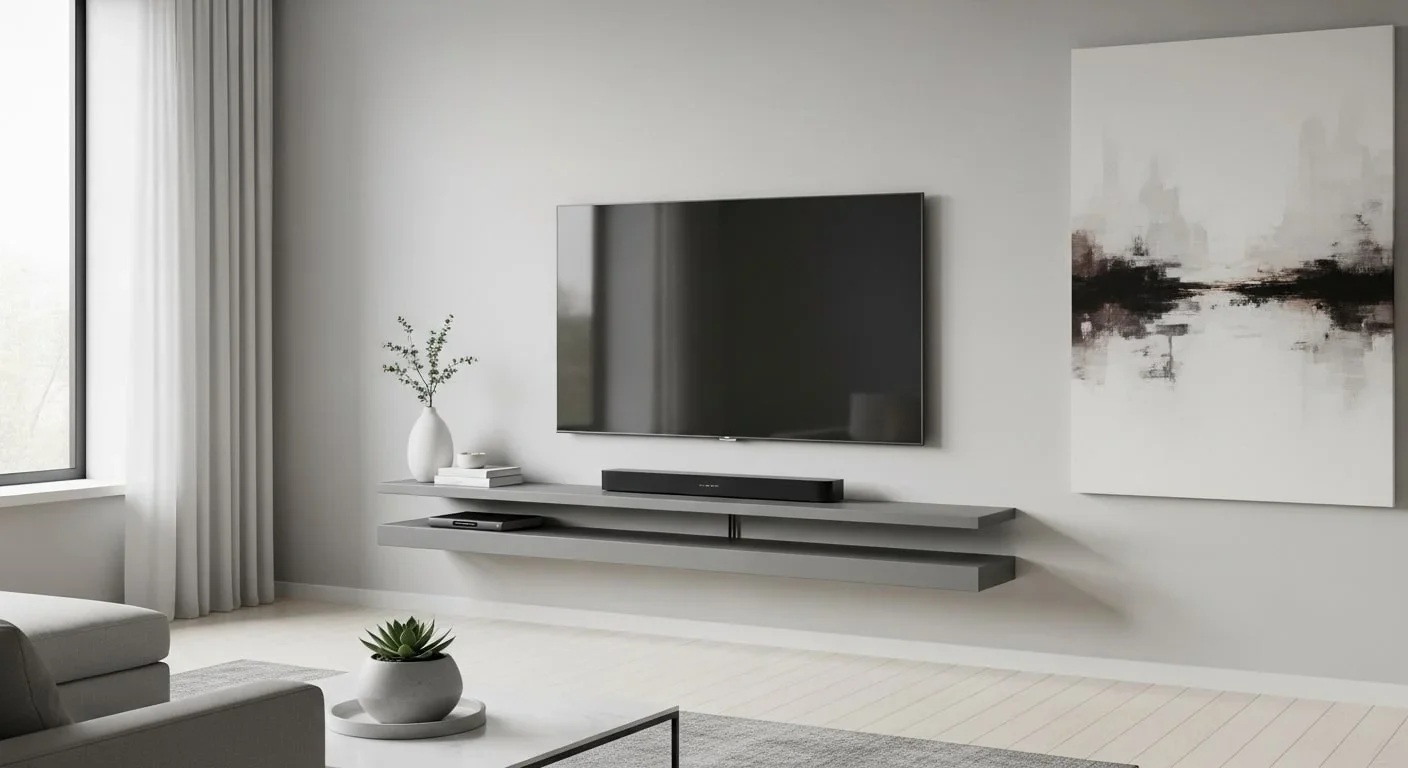
DIY note: Drill ventilation holes and include a small gap at the back for airflow.
7) Glass-Front Floating Unit (Display + Protection)
Description: A floating unit with glass-front cabinets—great for displaying collectibles while keeping dust away.
Best for: Homes with collectibles, decorative items, or fragile decor.
Materials: Tempered glass doors with painted or veneered MDF frames.
Sizing tip: Keep glass doors framed to avoid large panes that look heavy. Depth 12–16″.
Pros: Display and protect; looks sleek and modern.
Cons: Glass can show fingerprints; heavier to mount.
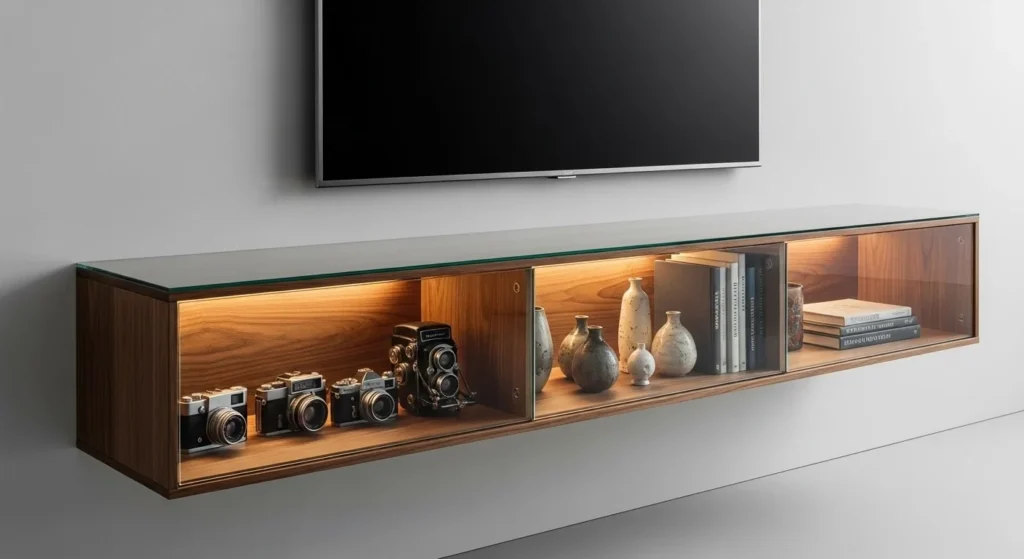
Styling ideas: Backlighting inside cabinets to showcase items.
8) Recessed Floating Unit (Built-In Look)
Description: Unit recessed into a shallow niche in the wall to create a seamless, built-in appearance while still floating above the floor.
Best for: New builds or renovations where wall cavities can be used.
Materials: Drywall framing, plywood cabinet boxes, finished face panels.
Sizing tip: Coordinate with stud layout and electrical planning early.
Pros: Ultra-clean, high-end look; excellent space efficiency.
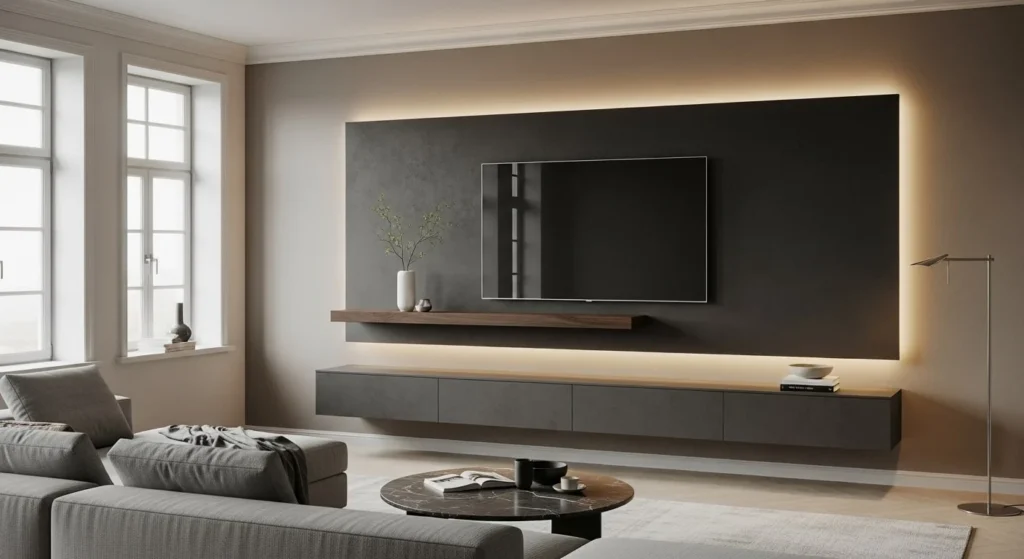
Cons: More expensive; not always possible in existing walls without construction.
Design tip: Use continuous wall finish (paint or plaster) to make the unit blend into the wall.
9) Industrial Floating Unit (Steel + Wood)
Description: Combines powder-coated steel brackets or frames with reclaimed wood shelves for an industrial edge.
Best for: Loft-style interiors, modern rustic rooms.
Materials: Steel brackets or frame, solid wood planks or reclaimed timber, protective finish.
Sizing tip: Depth 12–18″ depending on timber thickness and desired weighty look.
Pros: Durable, tactile, adds warmth and character.
Cons: Steel adds cost; visible brackets may reduce the ‘floating’ illusion.
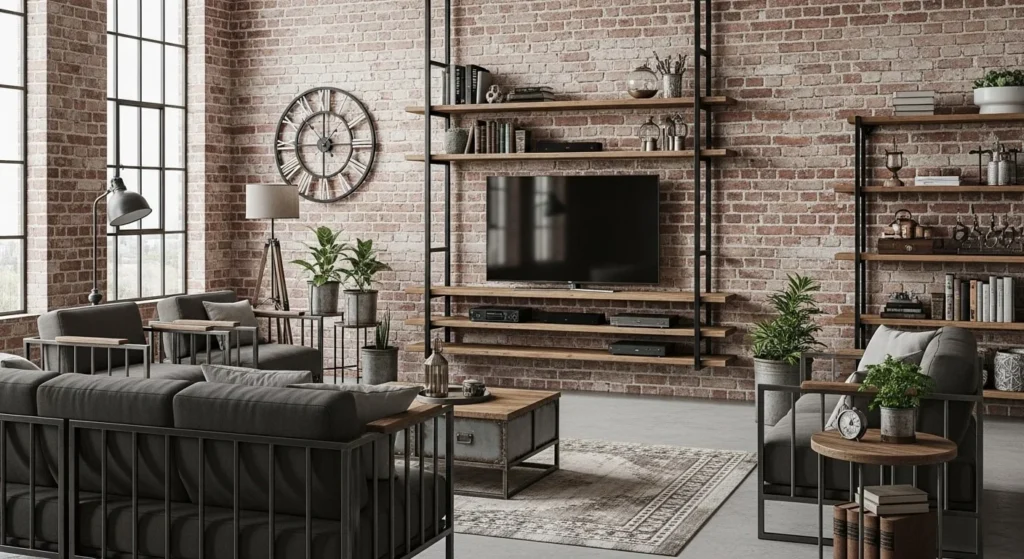
Styling ideas: Pair with metal-framed furniture and warm textiles.
10) High-Gloss Floating Unit with Concealed Lighting
Description: A glossy lacquered unit that reflects light and is fitted with concealed LED lighting to emphasize the floating effect.
Best for: Modern, high-gloss interiors and smaller rooms that benefit from reflective surfaces.
Materials: High-gloss lacquered MDF or laminate, integrated LED strips.
Sizing tip: Keep proportions simple — avoid too many compartments that break the glossy plane.
Pros: Luxurious, brightens the room, shows off clean lines.
Cons: Scratches and fingerprints show easily; requires careful maintenance.
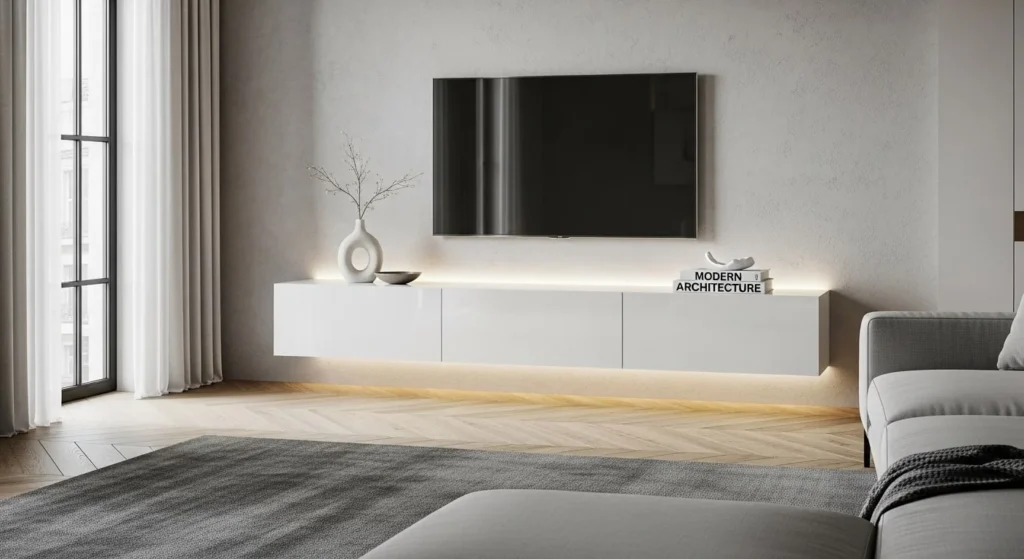
Styling ideas: Keep decor minimal — a single styled coffee table book and a sculptural object.
Materials Comparison (Quick Table)
- MDF / Lacquer: Smooth, affordable, great for painting and glossy finishes. Susceptible to moisture.
- Plywood / Veneer: Strong, stable, looks like real wood when finished properly. Slightly pricier.
- Solid wood: Beautiful and durable but expands/contracts with humidity—best in controlled climates.
- Metal + Wood: Sturdy and stylistic; best for industrial designs.
- Glass: Sleek for doors but heavy and requires tempered safety glass.
Mounting & Safety Guidelines
- Always anchor to studs for heavy floating units; use threaded rod or heavy-duty French cleats for maximum strength.
- Check load ratings of brackets and do not exceed them—consider dynamic loads (kids pulling drawers).
- Ventilation is essential if storing electronics; leave gaps or ventilation holes.
- Cable management: plan for an in-wall power relocation behind the TV or use slim cord channels for a neat finish.
- Professional help: Consult a carpenter or electrician if you’re unsure, especially for recessed or fireplace-integrated designs.
Styling Tips — Keep it Sleek
- Embrace negative space; don’t over-decorate the floating surface.
- Use anchors of scale (books, one lamp, a plant) rather than many small items.
- Mirror or glossy finishes reflect light—good for small rooms.
- Use backlighting (LED strips) to enhance the floating illusion.
- Match the unit’s height to the sofa seat plus viewing ergonomics — many designers set the TV center at eye level when seated.
Buying vs. DIY — Which to Choose?
Buy if: You want a fast solution, warranty, or need a complicated finish (high gloss lacquer) that’s hard to DIY.
DIY if: You want a custom size, lower cost, or enjoy hands-on projects. Many floating units can be built from plywood, edge-banded, and finished with paint or veneer.
Hybrid option: Buy modular floating cabinets and assemble/configure them into a custom layout.
Maintenance & Care
- Dust regularly and wipe with a lint-free cloth.
- For high-gloss finishes, use microfibre and mild detergent; avoid abrasive cleaners.
- Tighten mounting hardware annually.
- Keep electronics vents clear to avoid overheating.
Quick Budget Guide (approximate)
- Simple floating shelf: $30–$150 (DIY or basic kits).
- Basic floating console (ready-made): $150–$600.
- Custom floating media wall: $800–$4000+ depending on materials and finish.
Prices vary widely by region and material; these are ballpark numbers.
FAQs
Q: How high should a floating TV unit be?
A: There’s no one-size-fits-all, but common practice places the center of the TV around 42″ (107 cm) from the floor for seated eye level. Adjust to your sofa height and viewing comfort.
Q: Can I mount a heavy floating unit on drywall?
A: Not safely—always secure heavy units to studs or use professional-grade anchors rated for the load.
Q: Are floating units suitable for rental homes?
A: Yes, smaller floating shelves can be installed with removable anchors; for larger units confirm landlord permission before splicing into studs.
Q: How do I hide cables with a floating unit?
A: Plan for a power relocation behind the TV or use in-wall rated cable raceways and routing channels behind the unit.
Conclusion
Floating TV units are a versatile, modern upgrade that instantly refreshes a living room. Whether you choose a bare-bones floating shelf or a full gloss media wall with concealed lighting, there’s a floating solution for every style, budget, and technical need. Use the design summaries above to decide which type fits your space, and follow the mounting and safety tips to install it securely.
Extra: Image prompts for designers or AI image generation
- “Minimalist floating wooden shelf under a wall-mounted LED TV in a small modern living room, neutral tones, soft natural light.”
- “Floating media console with three soft-close drawers, matte white finish, Scandinavian living room with plants.”
- “Wide low floating media unit spanning a large wall with integrated LED strip lighting beneath, modern open-plan living room.”
- “Asymmetrical stacked floating boxes in mixed walnut veneer and white lacquer around a mounted TV, contemporary interior.”
- “Floating media unit with recessed electric fireplace niche, warm wood and stone accents, cozy living room scene.”
If you want, I can now:
- provide a shorter version for your blog intro or social post;
- create a step-by-step DIY plan with cut lists and hardware for one of the designs (say which one);
- generate image prompts tailored to a specific color palette or room size.
Which would you like next?


